Published
- 6 min read
Different Ways You Can Take Screenshots in Windows 10
Capturing your screen has never been easier! Explore the different ways to take screenshots in Windows 10, from built-in tools like Snip & Sketch to classic methods like Print Screen. Perfect for saving important information or sharing moments with friends.

Taking a screenshot becomes a very important part of your life when you want to remember important topics taught in the lesson or to take a snapshot of any important websites or images when surfing on the internet. In this article, we will be guiding you through some of the ways to take screenshots in Windows 10 which will help you to overcome the challenges of remembering something.
1. Snip & Sketch
It is the easiest tool to access in order to access, share and annotate screenshots as compared to the old Snipping Tool. This tool was developed by Microsoft with supreme quality and features that help the user easily take screenshots on their desktop without downloading any third-party tools.
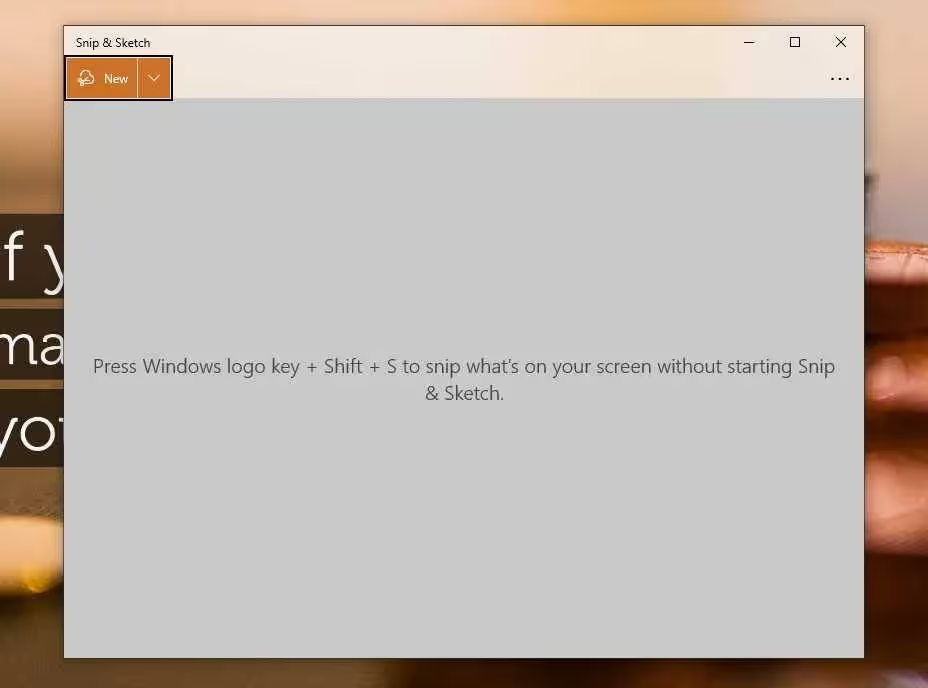
You can open the Snip & Sketch tool by using the keyboard shortcut Windows + Shift + S. You can also find the Snip & Sketch tool by clicking on the start button and then typing in the following phrase ‘snip & sketch’ and you will be able to see the application which you can open up and use it easily.
If you open this application using the keyboard shortcut then you will be able to see that the light of your screen will get dimmed and you will get a tiny menu at the top of the screen which will help you to take screenshots. The tiny menu at the top of your screen helps you to take screenshots in rectangular, free-form, window, or full-screen. As soon as you take your screenshot it will be saved in your clipboard and you will be able to see a notification that will pop up on the lower-right corner of your screen. You have to click on the notification to open the screenshot in the Snip & Sketch app to reproduce the screenshot, save it or share it.
Some people don’t have the habit of remembering weird shortcut options for them to use the Snip & Sketch app they have to go to the Start menu and go to this application by searching its name. After you find the application you need to double click on the app to open it. After opening it you will need to click on the New button on the upper left corner to initiate a screenshot and open up the small panel. If you want to delay your screenshot by 3 to 10 seconds then you can click on the down icon which is just after the New Button.

2. Snipping Tool
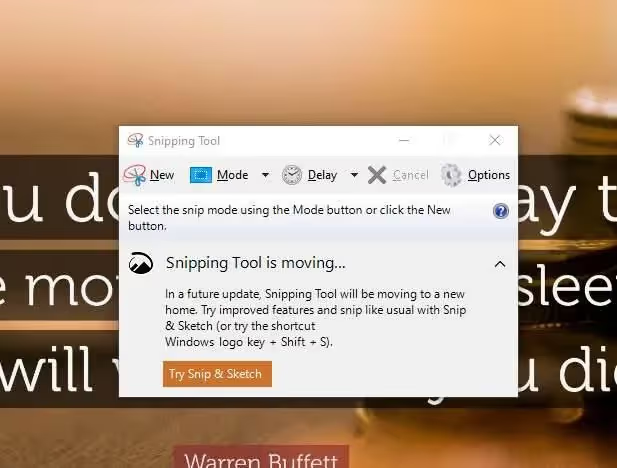
This tool has been around since the launch of Windows Vista in the market and it is still there with us. A couple of years ago there were certain types of rumors like the Snipping Tool is going to be kicked out from the market very soon. But none of them was true and the Snipping tool app is still there with us however it has been delisted from the start menu but you can still open it by searching the Snipping Tool in the search bar.
As soon as you will open the Snipping Tool application you will be able to see the new option which will help you to begin with your screenshot-taking process. There are many different types to choose from when taking screenshots like rectangular form, free-form screenshot, fullscreen and windows snip. The default option for taking a screenshot is the rectangular form.
There is no option to directly save your screenshot automatically after you take your screenshot and you will need to manually save your screenshots to a particular location after taking the screenshot. You can also copy the screenshot to your clipboard by using the snipping tool if you don’t want to save your screenshots and increase your hard disk space.

3. Print Screen
If you want to capture your entire screen then you can easily do it by tapping on the Print Screen button on the keyboard. By using this way the screenshot will not be saved on your computer but will be copied to your clipboard and you will need to paste it in an image editing tool like paint and then save it on your computer.
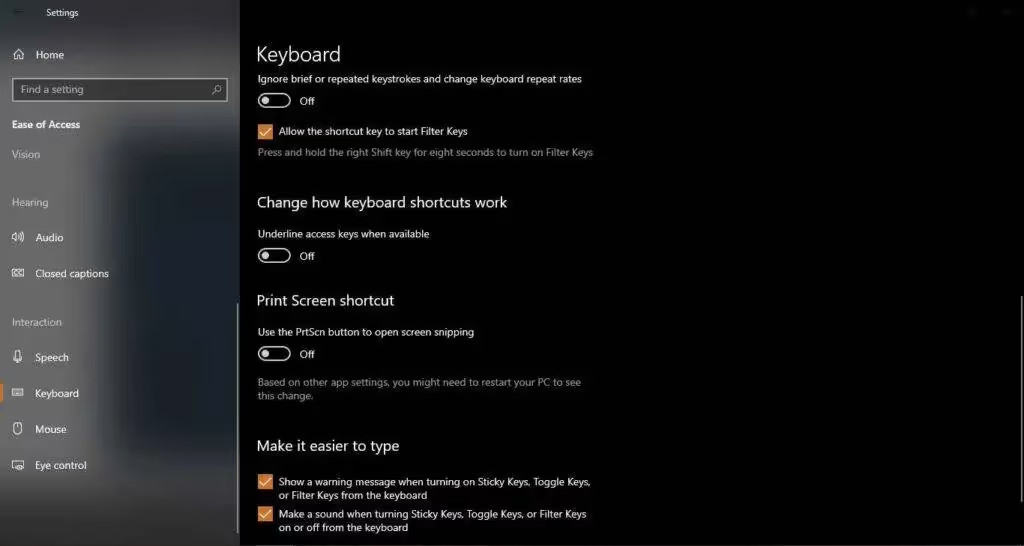
If you want to use the Print Screen Button click to open the snipping tool then you can easily do this by going to Settings > Ease of Access > Keyboard and then toggling on the Use the Prtscn button to open the screen snipping under the Print Screen Shortcut.
4. Windows Key + Print Screen
If you want to capture your entire screen and automatically save the screenshot then you need to tap the Windows Key + Print Screen key. You will observe that after doing the step mentioned above your screen will go dim for 1 sec and your screenshot will be saved to the Pictures > Screenshots folder.

5. Alt + Print Screen
If you are in a hurry and you need to take a quick capture of your active window then you need to use the shortcut Alt+Prtscn. After doing this step the snapshot of the active window will be taken and the snap will be copied to your clipboard. If you want to save the snapshot then you will have to open an image editor like Paint and paste your screenshot in it to save your snap on your computer.
6. Game bar
If you are in the middle of playing a game and you want to take a screenshot of a particular moment then you can easily do it by hitting the Window key + G key from your keyboard to fire up the Game bar. After that click on the screenshot button or use the default keyboard shortcut Windows key + Alt + PrtScn to click a snapshot of the entire screen.
These are some of the ways to take screenshots in Windows 10. You can use any of these links mentioned above to take screenshots in Windows 10. But if you are able to still find some other ways to take screenshots in Windows 10 then you can add them in the comments. Share this article with your friends who want to know about the different ways you can take screenshots in Windows 10.
Advertisement